
개발일지
[NestJS] S3로 이미지 파일 관리하기 본문
AWS S3에 파일 업로드 하기
패키지 설치
- aws-sdk를 사용합니다.
$ yarn add aws-sdk --save
구현
Controller, Service
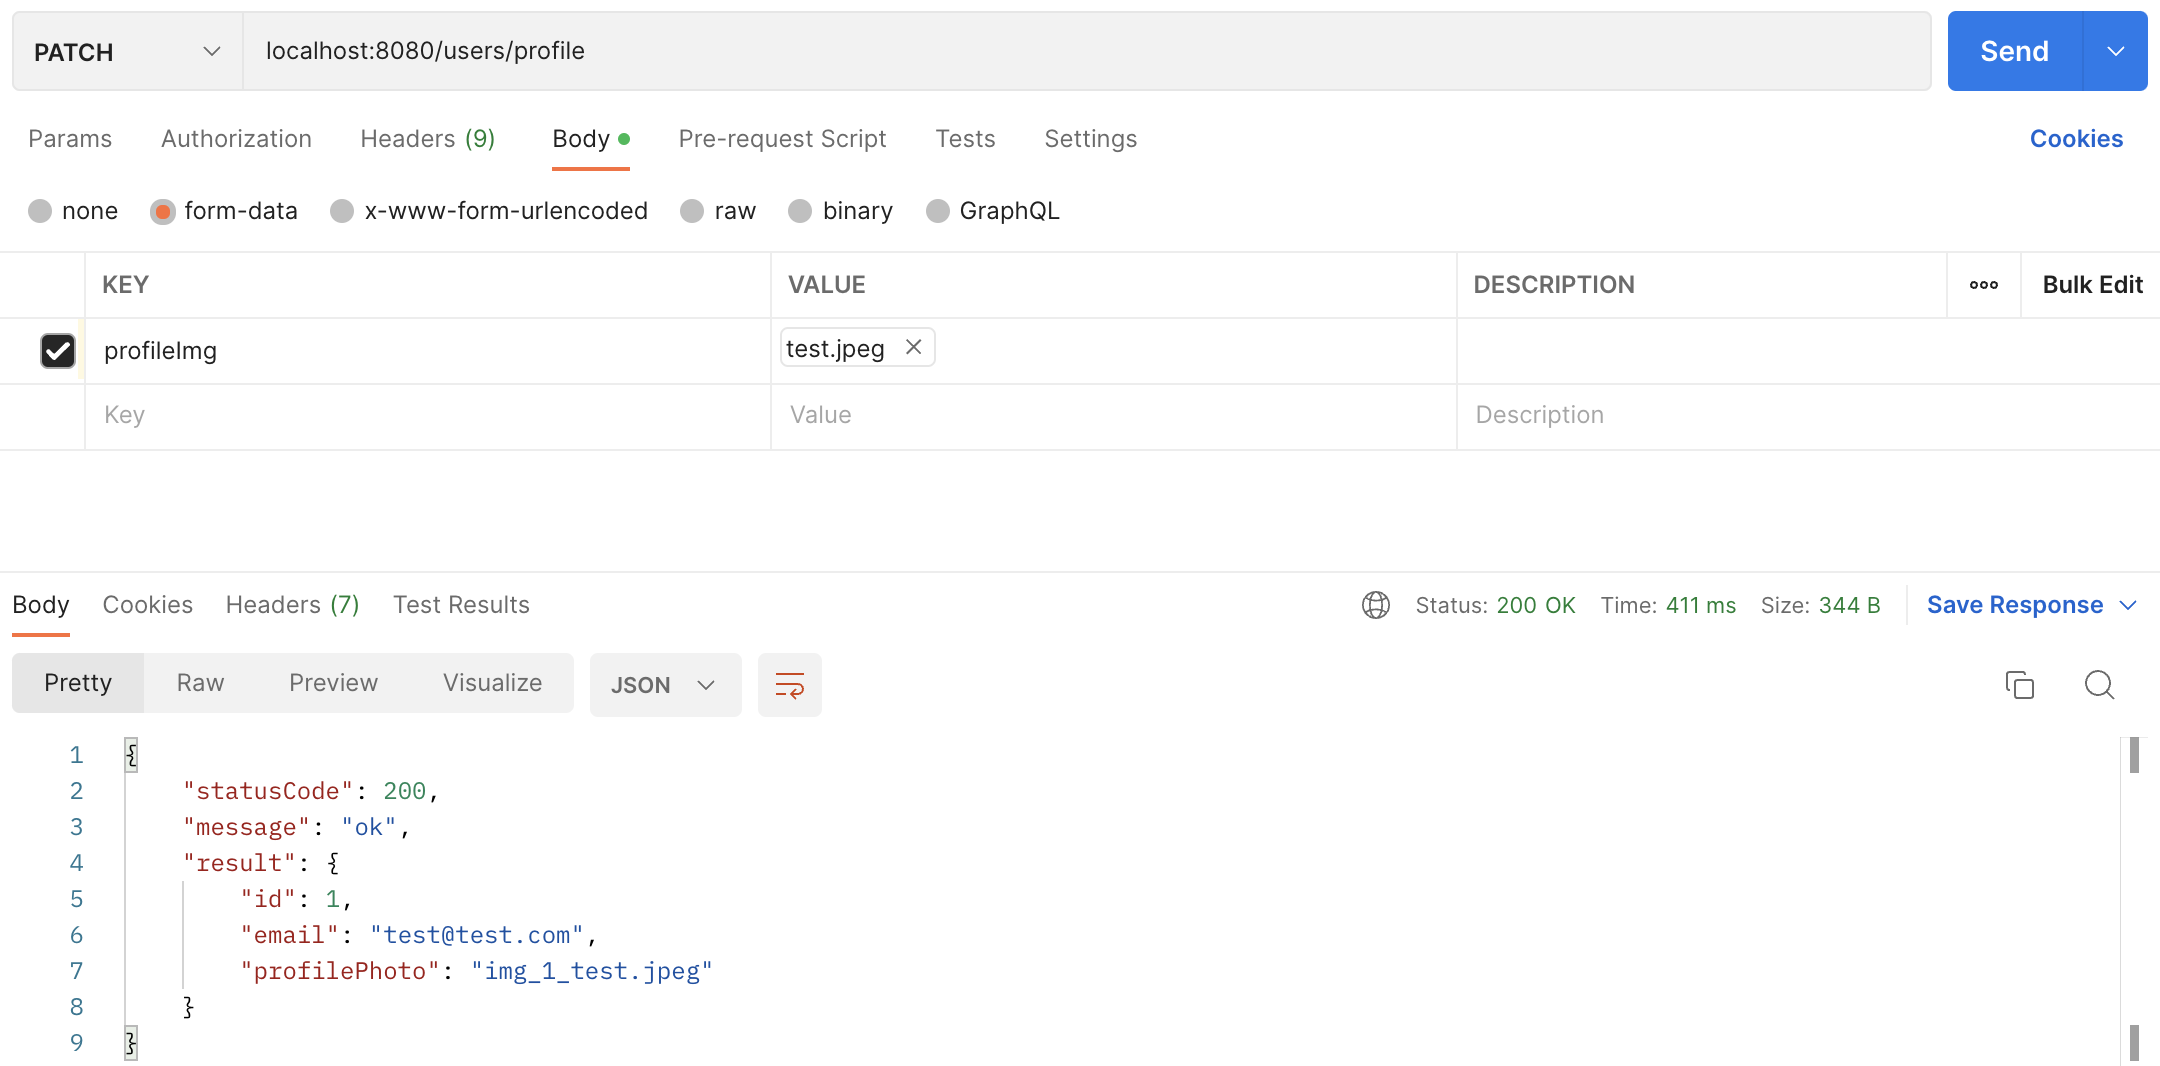
FileInterceptor 인터셉터와 UploadedFile 데코레이터로 form으로부터 받은 파일을 추출해낼 수 있습니다.
  @Patch('profile')
  @UseInterceptors(FileInterceptor('profileImg'))
  async updateProfile(@UploadedFile() profileImg) {
    const userId = 1;
    return await this.usersService.updateProfile(userId, profileImg);
  }
추출된 파일은 다음과 같은 객체 형태로 반환됩니다.
{
  fieldname: 'profileImg',
  originalname: 'test.jpeg',
  encoding: '7bit',
  mimetype: 'image/jpeg',
  buffer: <Buffer ff d8 ff e0 00 10 4a 46 49 46 00 01 01 00 00 01 00 01 00 00 ff db 00 43 00 03 02 02 03 02 02 03 03 03 03 04 03 03 04 05 08 05 05 04 04 05 0a 07 07 06 ... 24962 more bytes>,
  size: 25012
}
aws config 설정 하기
AWS service를 사용하기 위한 config 객체를 생성해야합니다. 생성 시 원하는 옵션을 지정해줄 수 있습니다. 더 많은 옵션은 여기를 참고해주세요.
import * as aws from 'aws-sdk';

@Injectable()
export class AwsS3Service {
  private readonly AWS_REGION = '리전';
  private readonly AWS_S3_BUCKET_NANE = '버킷 이름';
  private readonly s3;

  constructor(private readonly config: ConfigService) {
    aws.config.update({
      region: this.AWS_REGION,
      credentials: {
        accessKeyId: this.config.get('AWS_ACCESS_KEY_ID'),
        secretAccessKey: this.config.get('AWS_SECRET_ACCESS_KEY'),
      },
    });

    this.s3 = new aws.S3({
      apiVersion: '2006-03-01',
    });
  }

  async uploadS3bucket() {...}
}
S3에 업로드 하기
  async uploadS3bucket(folderName: string, fileName: string, file) {
    if (!folderName) {
      throw new HttpException(exceptionMessages.EMPTY_BUCKET_FOLDER_NAME, 400);
    }

    try {
      await this.s3
        .putObject({
          Bucket: this.AWS_S3_BUCKET_NANE,    // bucket 이름
          Key: `${folderName}/${fileName}`,   // Object key
          Body: file.buffer,                  // Obejct body
          ContentType: file.mimetype,
          ContentEncoding: file.encoding,
          ContentDisposition: 'inline',
        })
        .promise();
    } catch (err) {
      throw new HttpException(exceptionMessages.FAILED_UPLOAD_S3, 400);
    }
  }
파일을 업로드할 버킷 폴더와 객체 이름을 지정해준 뒤 S3에 업로드합니다. 데이터베이스에는 버킷 key에 해당하는 부분만을 저장합니다.
  async updateProfile(userId: number, profileImg) {
    const bucketFolder = 'profile';
    const imgFile = `img_${userId}_${profileImg.originalname}`;

    // s3 업로드
    await this.s3.uploadS3bucket(bucketFolder, imgFile, profileImg);

    // db에 url 저장
    return await this.usersRepository.updateProfile(userId, imgFile);
  }
발생 이슈
접근 권한 문제
url로 클라이언트에서 이미지를 바로 출력할 수 있으나 권한이 없어 접근할 수 없었습니다. 따라서 해당 버킷 정책을 설정해줬습니다.
{
    "Version": "2012-10-17",
    "Id": "Policy1670397130799",
    "Statement": [
        {
            "Sid": "Stmt1670397128550",
            "Effect": "Allow",
            "Principal": "*",
            "Action": [
                "s3:GetObject",
                "s3:PutObject"
            ],
            "Resource": "arn:aws:s3:::버킷 이름/*"
        }
    ]
}
이미지 출력이 아닌 다운로드 되는 문제
url 접근 시 이미지가 바로 출력되는 게 아닌 다운로드 되는 경우가 존재했습니다. 결론적으로 타입을 지정해주지않아 발생한 문제로 ContentType(mimetype)을 지정해주었습니다. 그래도 일부 해결되지않아 ContentDisposition을 inline으로 설정해주었습니다.
await this.s3
  .putObject({
    Bucket: this.AWS_S3_BUCKET_NANE,
    Key: `${folderName}/${fileName}`,
    Body: file.buffer,
    ContentType: file.mimetype,       // ⭐️
    ContentEncoding: file.encoding,
    ContentDisposition: 'inline',     // ⭐️
  })
  .promise();
하지만 그럼에도 출력되지않은 파일들이 존재했습니다. 정확한 이유는 모르겠으나 버킷 Key 형식을 다음과 같이 수정했더니 해결되었습니다.
// 수정 전
const imgFile = `${userId}_${profileImg.originalname}`;

// 수정 후
const imgFile = `img_${userId}_${profileImg.originalname}`;
결과 화면
데이터베이스에는imgFile에 해당하는 부분만 저장됩니다.
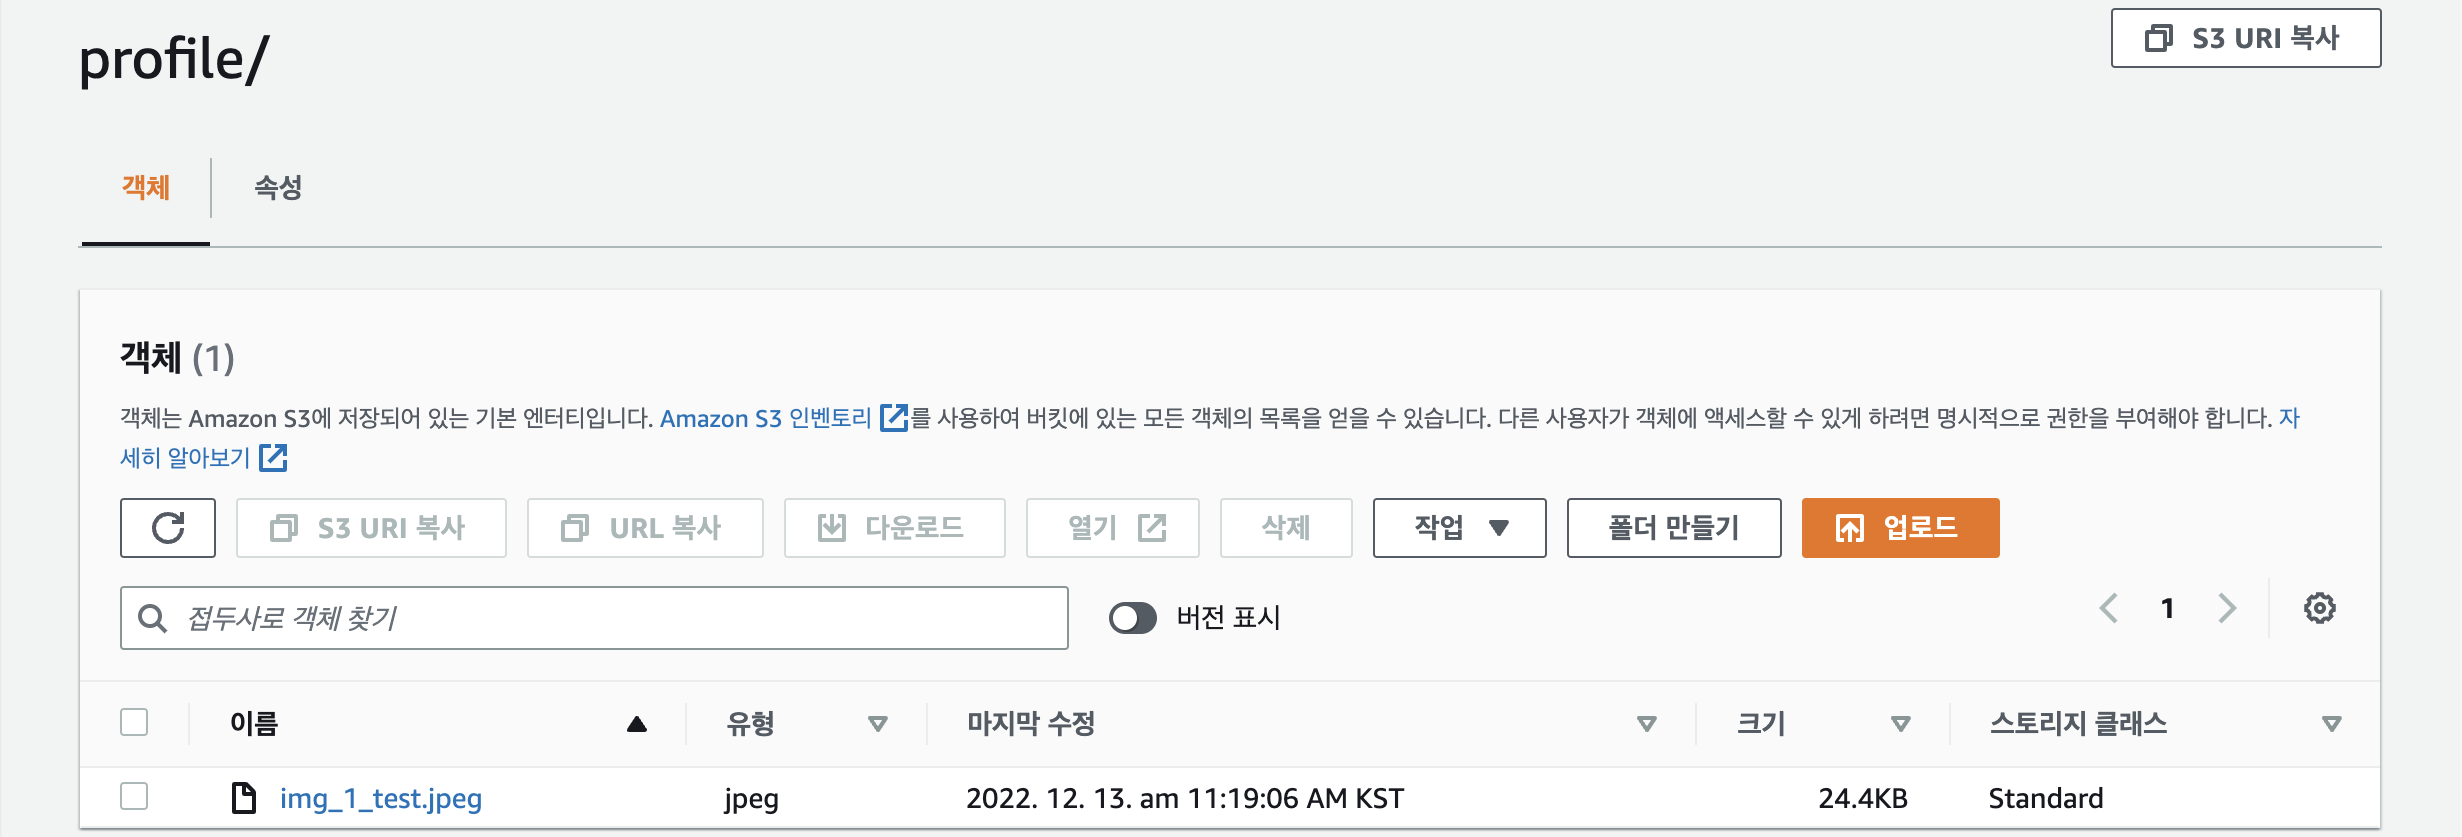
S3 버킷을 보면 이미지 파일이 저장된 것을 확인할 수 있습니다. 클릭하면 객체 URL이 존재하는데 해당 url로 이미지를 바로 띄울 수 있습니다.

'NestJS, Node.js > #01 Project - 투표 커뮤니티' 카테고리의 다른 글
| [NestJS] Redis로 JWT Blacklist 적용하기 (0) | 2023.03.13 |
|---|---|
| [NestJS] TypeORM 적용하기 (0) | 2022.12.22 |
| [NestJS] ValidationPipe 커스텀하기 (0) | 2022.11.30 |
| [NestJS] Prisma 환경 변수 문제 해결하기 (0) | 2022.11.16 |
| [NestJS] 환경변수 설정하기 - config, cross-env, joi (0) | 2022.11.16 |